

Smartwatch Screen Protection Checklist: Films, Cases, and Wet Installs
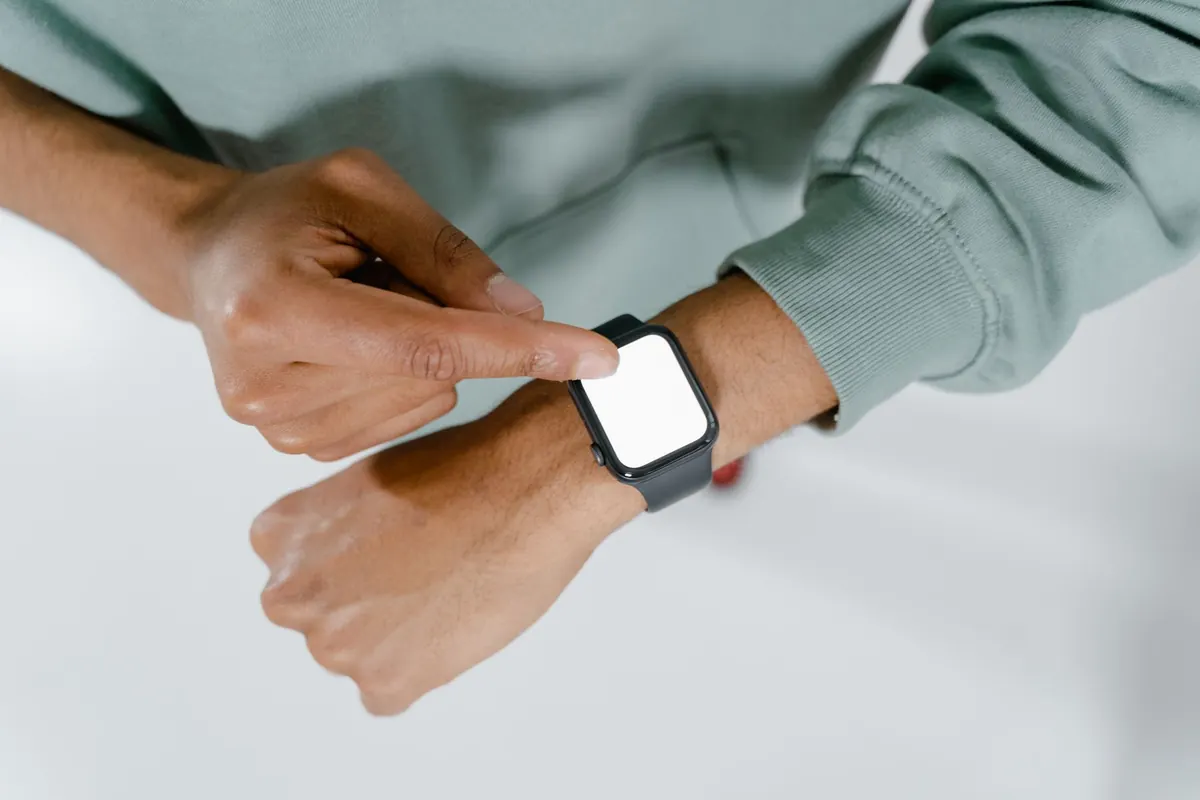
Your smartwatch's display takes more abuse than any other part of the hardware. You catch it on doorframes, drag it across desk edges, and glance at it with damp or gritty fingers. A deep scratch never buffs out, and a cracked crystal can cost a large share of what you paid for the watch. A film and a case are cheap insurance — but only when they go on properly. A crooked protector with a dust speck under the center looks worse than a bare screen and often peels within a week.
What follows is the sequence worth running every time: choosing the right film for your display shape, fitting a case that doesn't lift the edges, and doing a wet install that settles without trapped air.
Start With the Display, Not the Product Page
Before you order anything, look at how the glass meets the watch body. Many smartwatches use a flat center with gently curved edges, sometimes called 2.5D. Others have a domed crystal that rolls all the way out to the bezel. That difference decides what will actually stick.
A rigid tempered glass protector on a domed watch covers only the flat middle. That's fine — the curved edges are the hardest part to hit anyway — but you should expect the limited coverage rather than feel cheated when the protection stops short. A soft film wraps further because it bends with the curve, at the cost of feeling slightly rubbery under your fingertip.
Check clearance too. Is there a rotating bezel, a raised crown guard, or a case that already sits proud of the glass? Those details matter more than the film's marketing copy.
Pick a Material That Fits How You Wear It
Tempered glass
Best for impact and clarity. It feels closest to the original screen and takes the scratches that would otherwise reach your display. The trade-offs: it's thicker, it can shatter at the edges, and it often fights with tight cases.
Hydrogel and TPU films
Thin, mildly self-healing, and forgiving to install. They conform to curves and never shatter. They do pick up a slightly soft, tacky feel and can yellow over long stretches. A good choice for workouts, curved displays, and watches that get knocked around.
Hybrid and ceramic-coated films
A middle ground: firmer than hydrogel, thinner than glass. Worth considering if glass keeps lifting on your watch's curvature.
Whatever you choose, scan for these specifics rather than the brand name:
- Thickness. Anything above roughly 0.33 mm starts to interfere with most slim cases.
- Edge shape. Beveled or rounded edges resist lifting far better than sharp cut edges.
- Oleophobic coating. This is what keeps fingerprints wipeable, and it wears out long before the film does.
- Cutouts and coverage. Confirm the film leaves the crown, microphone, and rear sensor unobstructed.
- Case compatibility. Look for "case-friendly," which usually means the film stops a millimeter short of the frame.
The Pre-Install Checklist
Most bad installs are dirty installs. Set yourself up before you peel anything.
- Control the dust. A bathroom shortly after a hot shower has less airborne lint than a living room. Steamy air settles particles.
- Wash and dry your hands. Then handle the film by its edges only.
- Clean the screen properly. Alcohol wipe first, dry wipe second, then a sticky dust-removal pad or a puff of air. Don't blow on it with your mouth.
- Inspect for existing damage. Deep scratches will telegraph through a thin film, and a hairline crack will spread regardless. Know what you're covering.
- Do a dry alignment. Set the film on the screen without removing its backing and see where the edges land. Adjust until the margin is even.
- Fit the case first. Snap it on, note where its lip sits, then take it off. That tells you how much edge margin you need.
- Set up a hinge. Two strips of tape on one edge, backing peeled from that side, film lifted like a door. It keeps alignment locked while you work.
Wet Install, Step by Step
Wet installs sound intimidating but they're the most forgiving method, especially on curved glass. The liquid lets the film slide into position and gives trapped air an escape route.
- Mix a small amount of plain dish soap into a cup of distilled water, or use the spray included with the kit. Distilled matters — tap water can leave mineral spots under the film.
- Tape over the speaker, microphone, and any charging port. Water and electronics don't mix, even on a water-resistant watch.
- Spray your fingertips and the adhesive side of the film until it's slick.
- Lay it down and slide it into position. You have a minute or two of working time, so align the edges instead of rushing.
- Squeegee from the center outward in firm, overlapping strokes, wrapping the card in a lint-free cloth so you don't scratch the surface.
- Blot the edges, remove the tape, and wipe the watch dry.
- Leave it alone for 12 to 24 hours. A faint milky haze is normal and clears as the remaining moisture evaporates.
Bubbles, Specks, and Lifted Edges
If a bubble sits near the middle, work it toward the nearest edge with a squeegee or a fingernail wrapped in cloth. Small ones often vanish on their own within a day or two.
A dust speck is harder. Lift the nearest corner with a piece of tape, hold the film up, and use a fresh strip to dab the speck off the adhesive. Lay it back down and press. Do this once. Repeated lifting stretches the adhesive and dulls the edge.
Lifted corners usually mean the case is pressing on the film. Trim the film, switch to a slimmer protector, or use a bumper that sits flush instead of overlapping.
Cases and Bumpers: Get the Pairing Right
A case protects the body, the crown, and the glass edges a film can't reach. The trick is matching it to your protector.
Slim TPU bumpers add grip and absorb knocks without bulk, and they pair easily with almost any film. Full metal or hard plastic cases offer more protection but often have a raised lip that catches the film's edge. If you go that route, choose a film that stops short of the frame by a millimeter, and always test the case over the film before you commit.
Two more things to check: whether the case blocks wireless charging, and whether it interferes with band changes. A case that has to come off every night ends up in a drawer.
Maintenance and When to Replace
Wipe the screen with a microfiber cloth and, when it gets greasy, a drop of water rather than a paper towel. Abrasive cloths are what scratch the film in the first place.
Replace the protector when the coating wears and swiping starts to feel sticky, when a crack reaches the edge, or when a scarred patch sits right over the text you read most. Films are consumable. Keeping a spare in a drawer means a fresh one is always ten minutes away.
A Ten-Minute Routine Worth Repeating
Clean the screen, align dry, fit the case first, install wet, squeegee outward, then leave it alone overnight. That sequence prevents almost every problem people blame on cheap protectors. Buy two films instead of one, keep painter's tape and distilled water on hand, and treat the install as the part that matters. A protector is only as good as the twenty minutes you spend putting it on.
Photo: MART PRODUCTION / Pexels